Microsoft Office 365 Installation Instructions
To install Microsoft Office 365 on your Windows laptop, you will need to download the installer from the Company Portal.
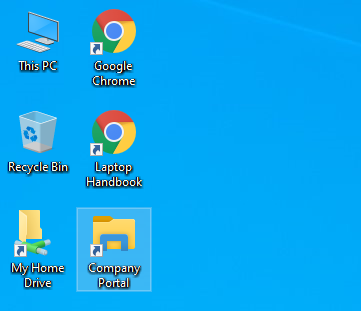
- On your Desktop, there should be a shortcut named Company Portal. Double-click this shortcut.
As a reminder, the Company Portal allows PCCS staff to securely download and install district-vetted programs.
If you do not see the Company Portal icon on your desktop, click the Start Button and search for Company Portal. Click the Company Portal program from the results that populate.
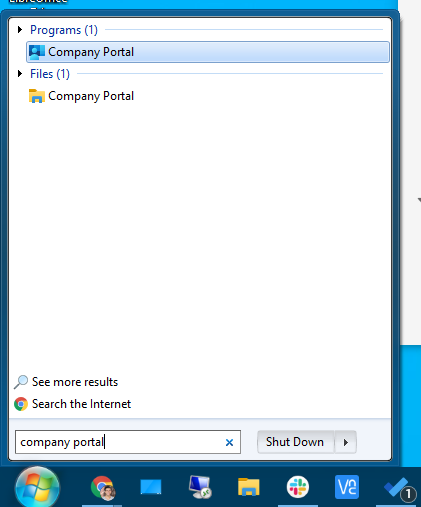
Perform this step ONLY if you don’t see the Company Portal icon on your Desktop.
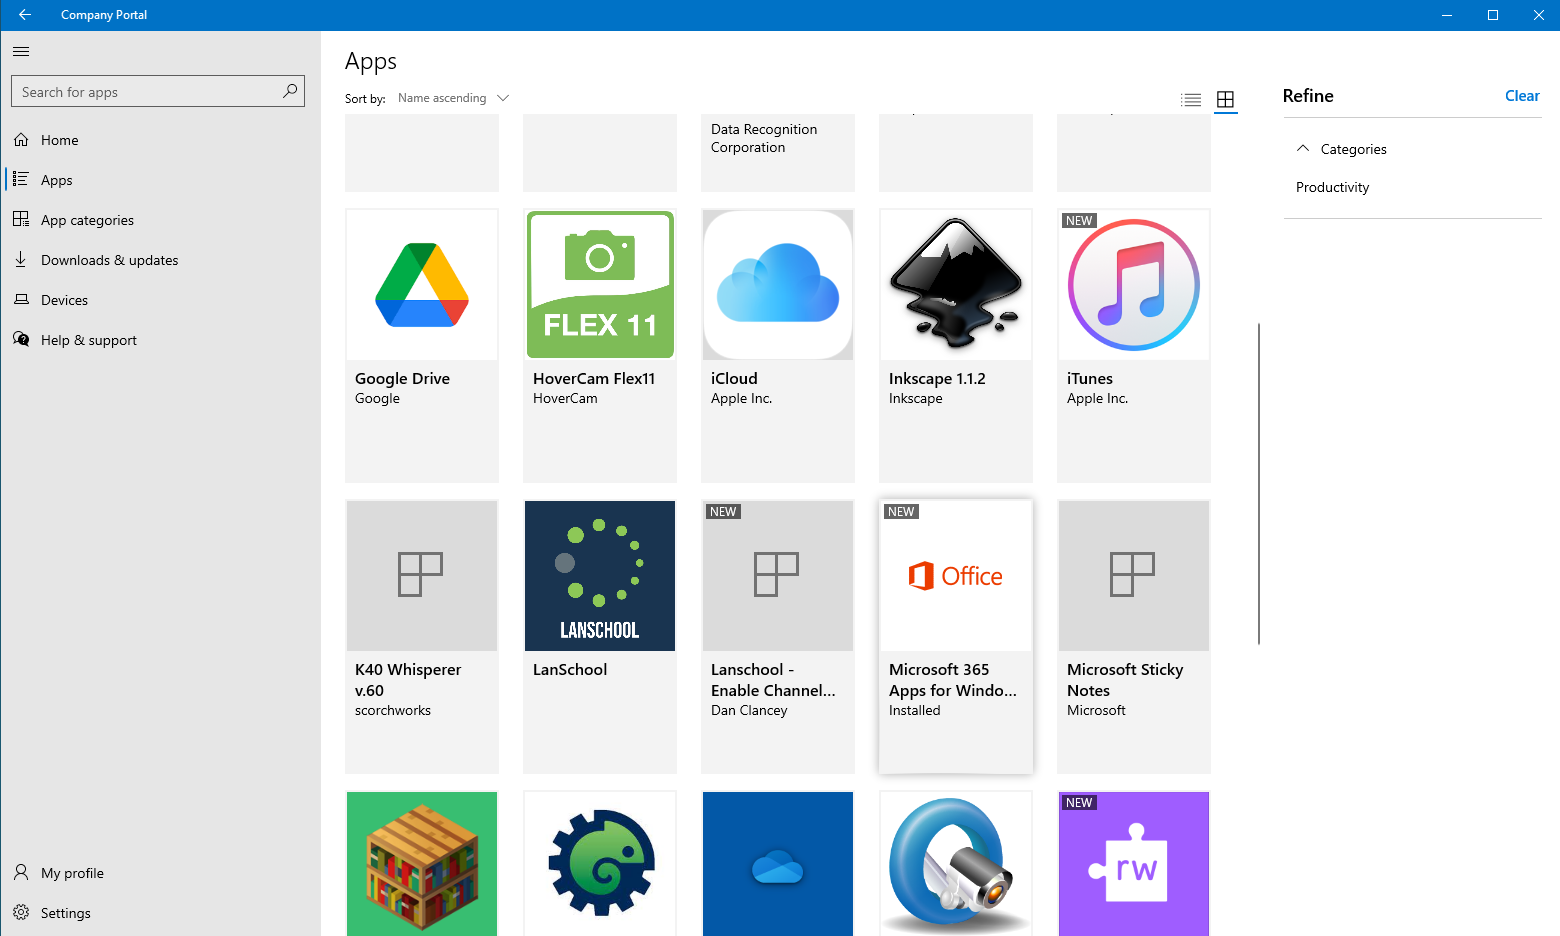
- When the Company Portal opens, click Apps in the left sidebar and scroll down until you see Microsoft 365 Apps for Windows Installer. Click this App.
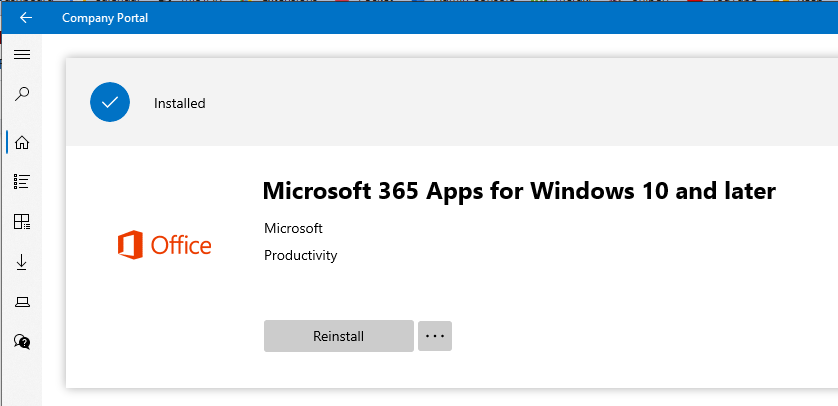
- Click Install to begin the installation. The app may take some time to download and complete the installation. It is recommended that you leave your laptop plugged in and connected to the network so the installation is not interrupted.
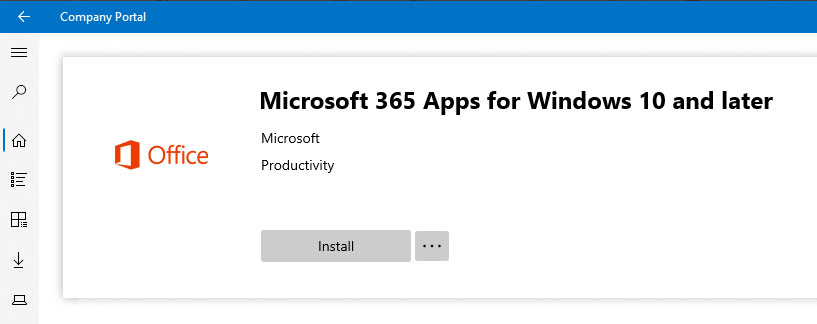
- Once installation is complete, you should see a checkmark and indication that the app is installed.
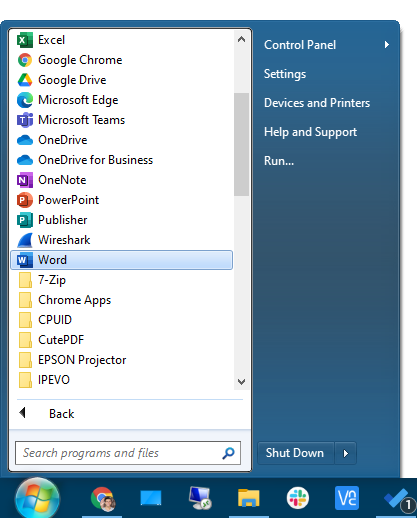
- Once the Office 365 app is installed, you will be able to open Office programs directly from the Start Menu. Click Start and then All Programs, and scroll to find the Microsoft Office 365 programs. The programs will be on their own in the Start Menu and not in a Microsoft Office folder.

Enjoy using Microsoft Office on your Windows laptop! If you have any trouble getting Office installed, please submit a service request to let the Technology department know.